by Florence B.
We’re half-way through the mid-winter break, and I hope you’re having fun trying new things and revisiting the old ones! For this mid-month blog post, I decided to do kind of a second part to my mid-Nov blog post “Playing with Your Food” and continue with “Kitchen Science!” Let’s face it, whenever educators talk about STEM, high-level science experiments, computer science activities, and other other high-level engineering topics are probably the first things that come to mind. Well, STEM fun at home doesn’t have to be all about expensive science kits that get mailed to you; you can have science fun with stuff you find in your kitchen!
There are tons of fun kitchen science ideas you can find online or in books, but here are some of my favorite experiments for little ones to get you started! The best thing about kitchen science is that it’s so adaptable! You can adjust depending on the level of what your kids can do, and for many of the experiments you can change ingredients depending on what you’ve got lying around in your cupboards. So, shall we get started? Here are five easy and fun kitchen science experiments!
A) Sink or Float with Orange Buoyancy:
Let’s start with a surprisingly fun kitchen experiment where all you need is water and some delicious citrus fruit that’s pretty much a staple in any household with a kid! Get ready to play some ‘sink or float’! This one is great for our smallest friends, because a) it’s water play and b) a clementine/mandarin/orange is involved!
For this experiment, it’s pretty simple: do you think the orange will float in the water? Let your kiddo make a hypothesis (or gnaw on the fruit depending on age) and then put it in a container of water and watch your citrus sail the high seas (or container, whatever). Next, let your little one peel the orange and then put that orange in the water and watch that peeled anchor sink!
“Wait!” your kiddo asks. “What’s the deal with that?!”
“Well,” you say with a knowing smile. “The peel is the orange’s floatie, just like floaties help you swim in the pool. Since we took off the floatie, the orange sinks.”
“Ah, what a wise parent. You know so much,” you wish they would say, but let’s face it, this dialog is fantasy.
Well, you can pretty much stop here, because you have an unpeeled orange, a peeled one, plenty of peelings, and a container of water that your kiddo can play with. But…if you’d like even more of a challenge for older kids, here comes the even more fun experimentation part! Can your kiddo peel *just enough* for buoyancy and gravity to balance somewhere between totally sinking to the bottom and floating at the top? Can your kiddo peel enough for the orange to sink…and then remove some of the orange slices so it floats back up again?
This one is a short and simple experiment with a lot of downtime. First, have your kiddo touch an egg and figure out if it’s hard or soft. Next, leave that egg in a container full of vinegar and watch that calcium carbonate egg shell wither away into nothingness. This is actually interesting to watch as you’ll see bubbles form as that poor shell gets dissolved away. Now, like I wrote earlier, there is a lot of downtime. After your 10 second shell toughness check, you can pretty much stick this back into the fridge for the next 24 hours while the vinegar works it’s magic—um…science.
If all works out well, you’ll have a naked egg with only a membrane surrounding it! If not, change the vinegar solution into a fresh vinegar solution, and cough awkwardly as you put the eggs back into the fridge informing your little one that you’ll need to wait a little bit longer. Back to assuming that all worked out well, this is when you do another hardness test to see that your hard egg has turned into a little softie!
So that’s it, pretty easy! Don’t forget to wash all hands involved since this is a raw egg experiment! You can take this experiment even further (with more downtime) by experimenting with osmosis. You can stick your egg into a cup of corn syrup and see what happens the next day. If you have multiple eggs, stick them in various liquids, and see what happens to each of the eggs. Since you’ve been soaking your eggs in vinegar, that’ll be your control. Can you figure out which liquids make your egg plump up and which ones deflate (tip: distilled water and corn syrup are probably the easiest way to see the biggest difference)?
C) Magic Milk:
For this dairy experiment, you’ll need milk (the fattier, the better!), food dye, toothpicks, and dish soap. In a wide dish:
1) put a thin layer of milk down,
2) drop a few drops of food dye in different spots,
3) dip a toothpick in some dish soap,
4) put the toothpick in the center of the drops in the milk, and
5) watch those fireworks go!
If you have an older kiddo, this one is great for exercising those fine motor skills, because you need to get the soapy toothpick end in each dot fast! For younger kids who can’t quite do that, even swirling around the toothpick and hitting each dot will be artistic fun! What’s going on here? You’ve got milk fat and soap molecules rushing through the crowd of milk proteins and other stranger molecules to find each other like long lost friends. And there are a LOT of these molecules searching and bonding. At once. Poor food coloring—all it did was get in the way!
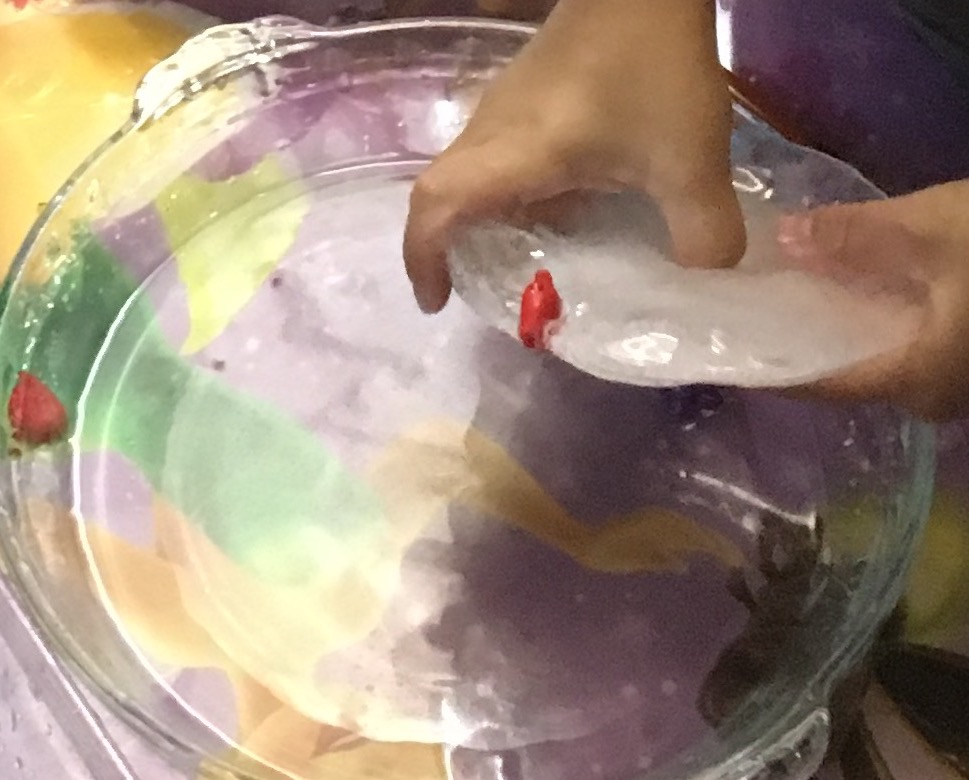
Ah, ice. Simple, yet so often overlooked. With melting experiments, you can actually buy yourself time to make dinner. In. Peace. Perfect over the summer, your kiddos can cool down while playing with melting ice. Freeze a block of ice. Supply salt. Supply warm water. Supply cold water. And of course, supply whatever fun supplies you can find in your drawers: medicine droppers, spoons, brushes, straws. Let your kiddos see how their block of ice changes over time as they experiment with what they’re given! For older kiddos who want a challenge, freeze some items like beads (pro tip: freeze in layers so all your beads aren’t at the bottom or top) and have your kiddo rescue the beads with the given supplies! Does the salt help melt the ice? Why isn’t the warm water warm anymore? There are so many fun ways to explore!
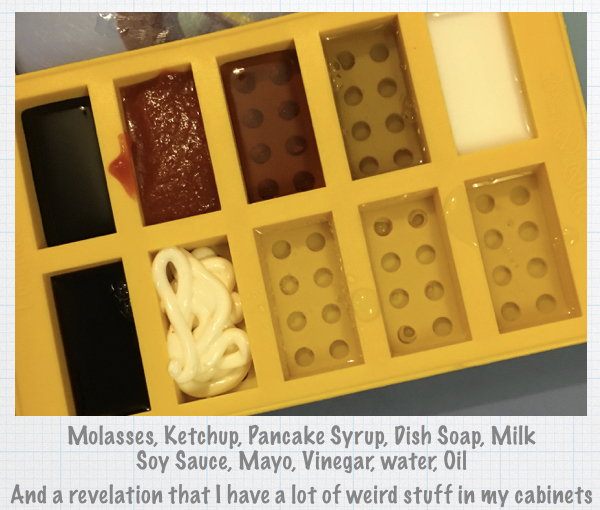
And then if your kiddo is over melting and wants to explore freezing, try a freezing experiment where you try to figure out what liquids freeze first! Your kiddo will get to see how different items freeze at different rates, and you’ll realize you have a lot more liquids in your fridge and pantry than you first thought! If you use a small enough ice tray, you’ll start noticing differences as soon as 15 mins!
E) Wizards Brew:
Great for a Halloween themed experiment, you can make Wizard’s Brew or Witch’s Potion (although this is so much fun any time of the year!). Think erupting volcanos. For this one, you’ll need vinegar, baking soda, and dish soap at a minimum. All you need to do is:
1) fill up a container with vinegar,
2) add dish soap,
3) add baking soda, and
4) have fun watching your kiddos laugh!
What’s going on here is that you have the vinegar and baking soda chemically reacting to create Hydrogen Peroxide. When that occurs, Carbon Dioxide gas is formed and gets trapped in the dish soap, making bubbles! Lots. Of. Bubbles! You can add glitter or food coloring for some added fun. You can change the containers and make different effects (you can even use a Jack-O-Lantern during Halloween!).
To get different reactions, you can try changing what liquid soap you use, how much baking soda you add (dump a lot or little sprinkles), stirring the mix (do bubbles form faster?), or drop in different colors of food coloring without mixing and see what colors you get! Even if your kiddo isn’t old enough to understand the chemical reactions going on, they’ll LOVE all the insta-bubbles!
For older kiddos or if you’re ready for more of a challenge, you can add yeast to the mix for a slower reaction that now has an exothermic effect (you’ll feel your container get warmer!). You can learn more about that HERE
There you have it: five easy kitchen science experiments to get you started! If you have a favorite kitchen science experiment you’d like to share, shout out in the comments below! Feel free to email me at blog@bothellfamilycoop.org as well!


